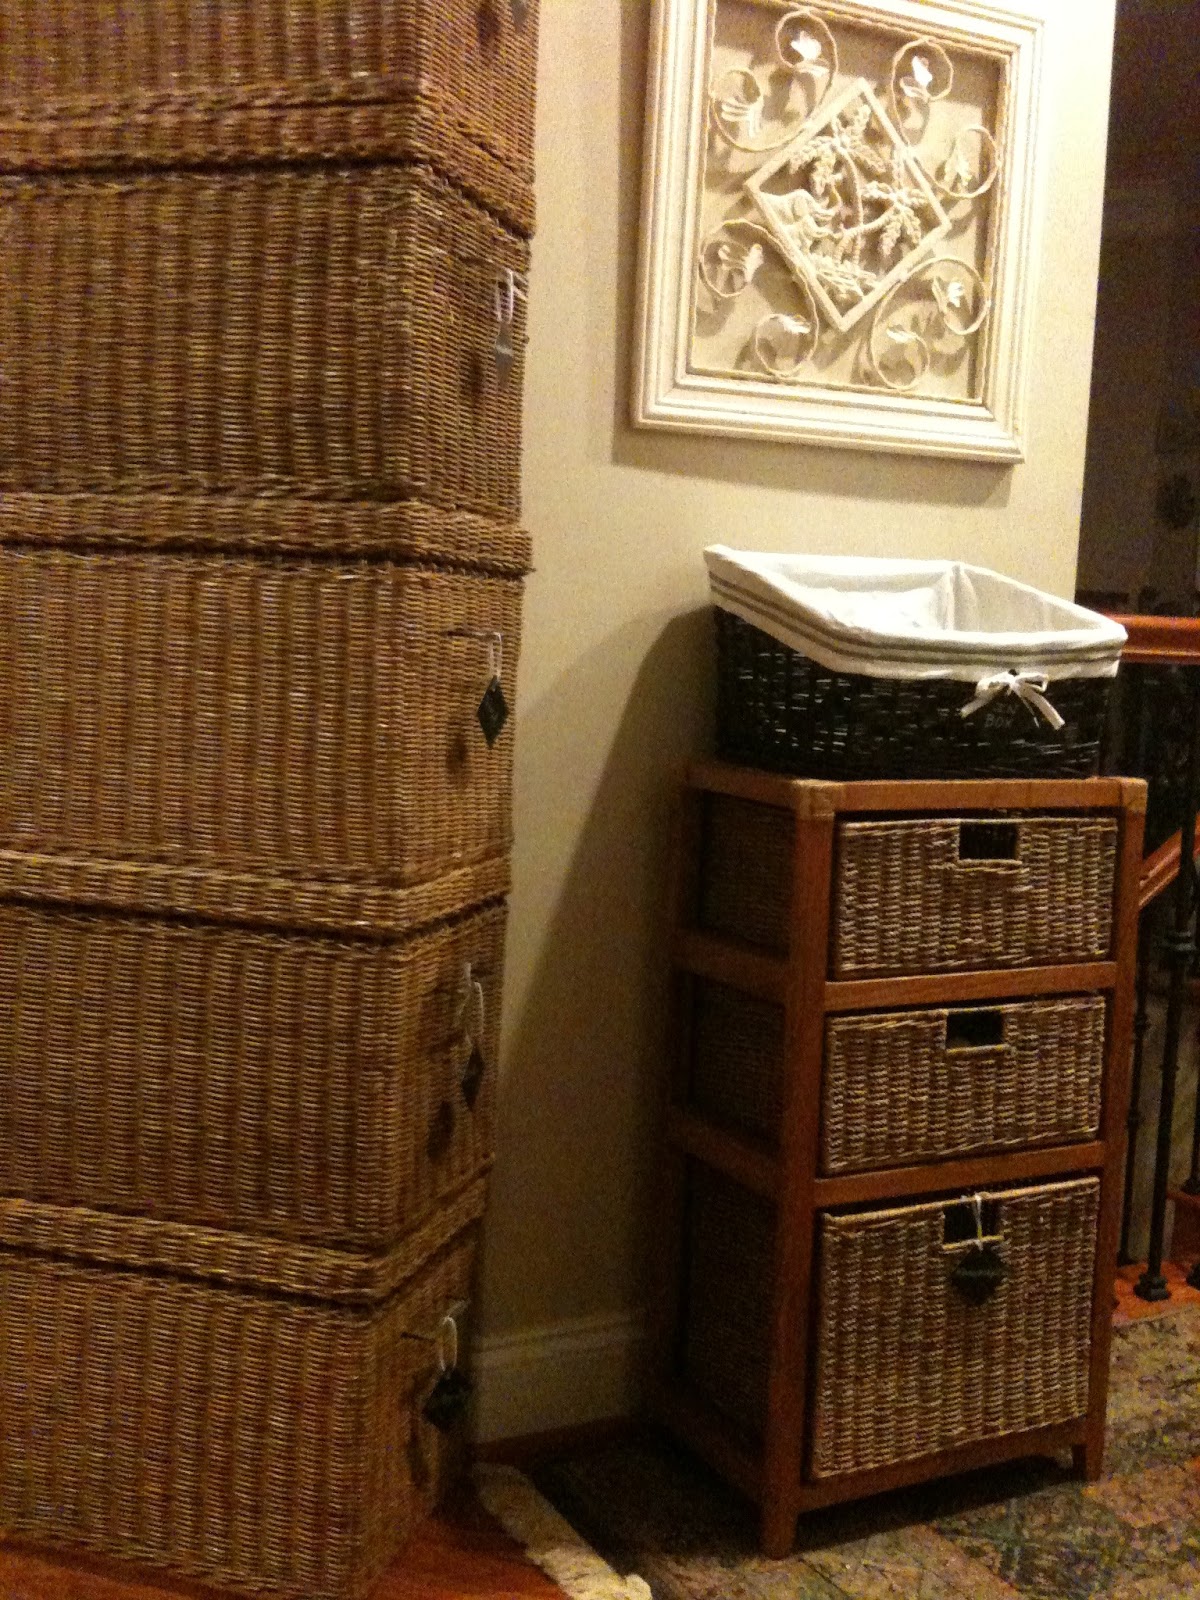
This is the finished product of my file organizing. I feel so good now!

You see, I am noticing a change in me as I go through all the items in my home. Once becoming a widow, I kept the clouds, or clutter in my home and my head. It is unbearable to part with anything that represented the life you used to have.
Today, and in this new year, I have been clearing out the clouds of clutter and it feels so good! I hope some of my widow-friends, who have had some healing, can begin too.
Posting my progress is like journaling, I will be able to look back and see how far I had to grow and did!
First I started with my more than messy desk! I did the project in stages. I worked on my desk months ago, took a break and organized other places (like my pantry) and then back to this office project. Why did I do this, because paperwork is my least favorite thing to do!

Here is my finished desk. Do you notice how your head feels, even just looking at these two pictures? Just think how it will feel if you did your own desk and took before and after pics as proof of your progress, healing, or simply cleaning your house.

No room for copy machine inside any cabinet, because I had too much stuff! Here is where the copy machine sits
now:

It is inside a cabinet, out of sight. ;-)

The underside of my desk.
As for the cords, I used either velcro, or yarn to contain their mess.

I love organizers, here is one I used for my desk drawer. It makes the tiny things turn from junk drawer to neat and tidy!

Beside my desk I had a small problem area. the space was a sharp triangle space. I love to utilize every space efficently in my home, and my desk is very short on storage space! So, I purchanced these wooden shelves meant for adding storage space to kitchen cabinets. They can be turned to whichever way I want because they are actually three separate shelving units.

Isn't this now a cute corner, verses the madness of overflow?
I pulled the shelf out a bit, so you can see how they can move. ;-)

Now looking down from my desk became a whole lot better!
This is the before pics of my filing cabinet situation:

Files papers and more files! Some in cabinets, some in plastic tubs; now you get the picture.

Even in tubs.

And the overflow; not such a cute corner, hugh?
Okay, so once the desk was done, it was onto phase two: my file cabinets. When I say file cabinets, I mean literally 10 of them in total!
Okay, where did all that paper go?

Here:
Again, where did all that paper go? And in here...I use baskets as my filing system. After throwing away unneeded papers, I now have enough space to house all the needed papers!

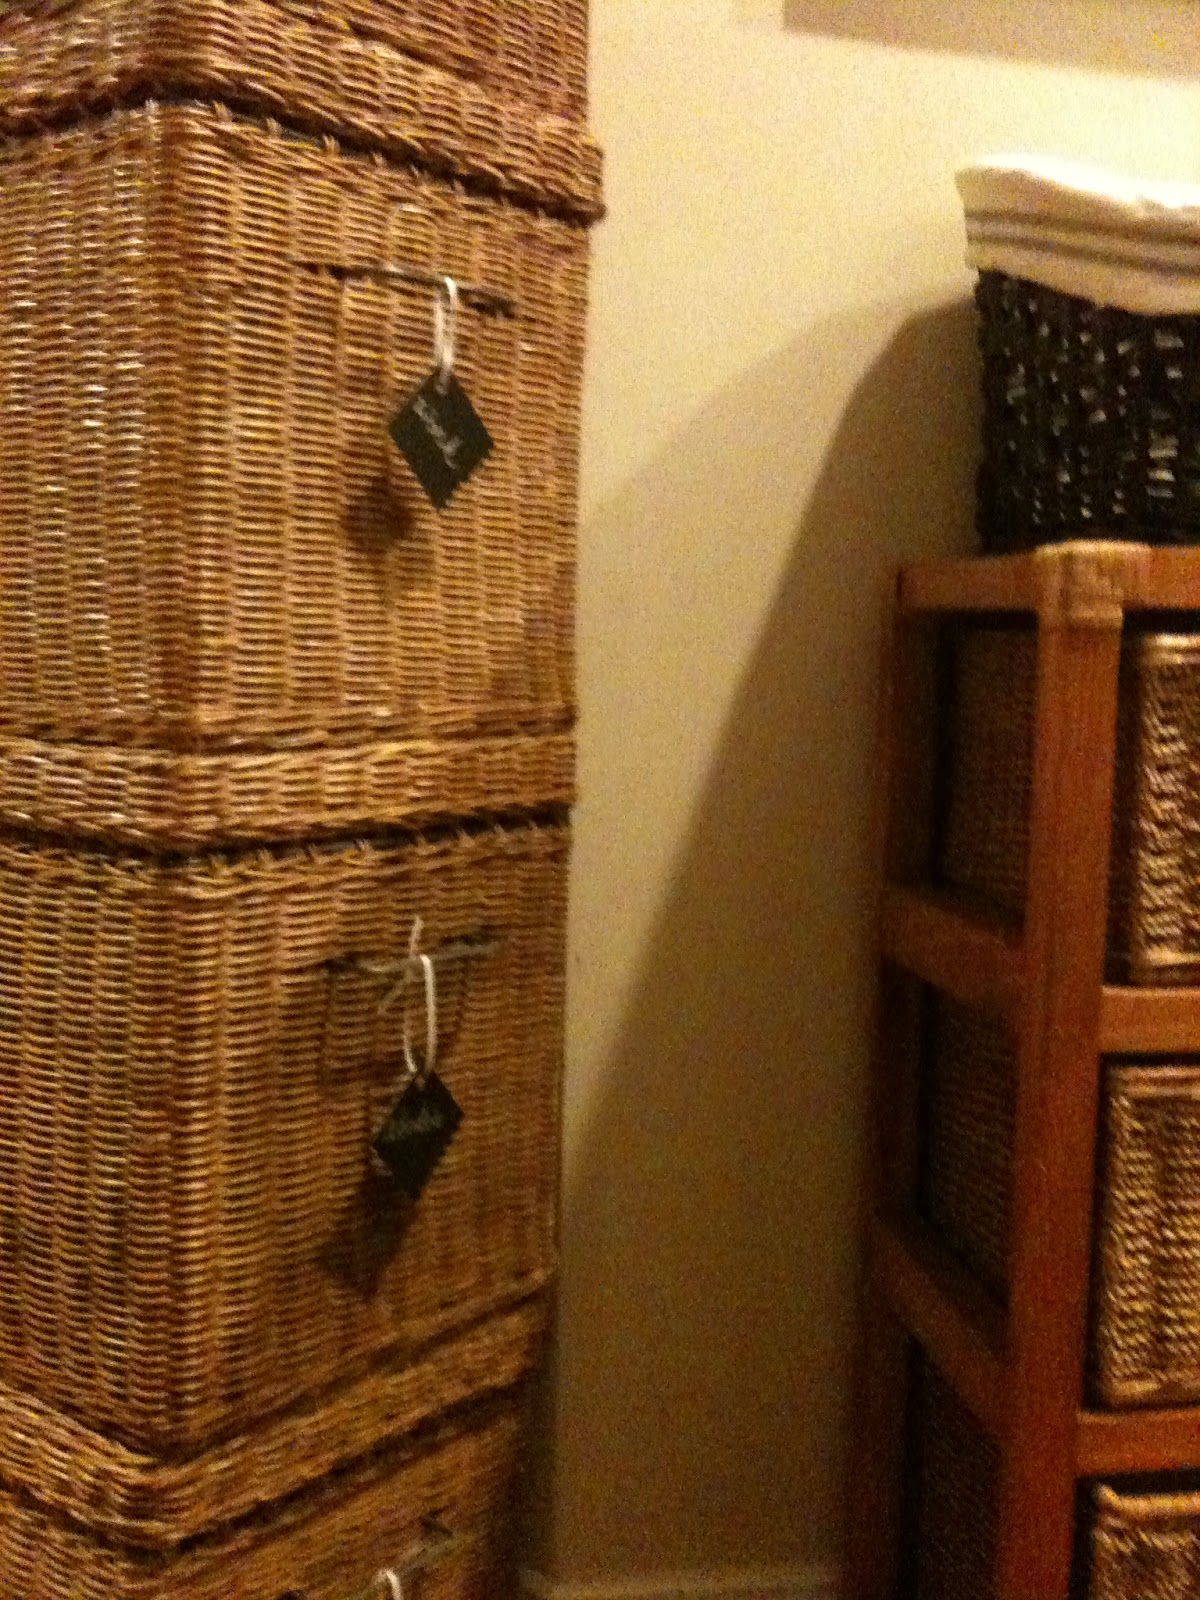
I put little labels on the outside of each filing basket.

Note the black IN BOX as a basket too.
My widow friends can relate to all the death, medical bills, name changing, and etc paperwork that I had. It is simply a task that takes some healing before one can sort through the very papers that cause so many bad (the death) and good (your previous life with the loved one) memories.

Now, I have to say, seeing some of my filing boxes like this, just made me feel like the fog had cleared!
First all your files need to be made and labeled. Simply tackle the mountain of paper that may be on your dinning table and stick each paper into a vanilla folder and label it. My father-n-law started this baby-step for me right after I lost my husband. He took all that imediate death paperwork and put them into folders. I recommend asking someone you trust to help you with this if you are new to being widowed.

All the mountain of papers that could be seen in tubs, and etc are now in folders. I added them to the ones my Dad Kramer did for me. Okay, now to take those boring folders and get label crazy! Lol, I think I shared in a previous post, I love to label everything. It maybe overkill, but I like to not only label each folder, but the hanging file as well. Since each hanging one has several folding ones in it, I like to put a general title. I find good labeling prevents any waisted time looking for important papers. I can now do it in a quick few seconds!

Now, the fun part. I wanted to label the outside of the filing baskets in something adorable. I thought of little chalkboards, with chalk writting; which would be darling, if you can find them. I had some in the past that I used as name plates for dinner guests.

I simply wrote on black cardstock (found in any craft store) that I had previously purchased for other projects.

I cut a square about 2 inches by 2 inches and wrote with a silver marker. A hole-punch and thin white ribbon was all that was needed to finish it!

Inside the filing basket, labeled Investments, you can see the folders labeled, the hanging files labeled and of course, the outside of the basket says Investments.
This little cabinet houses my manuscripts, some art supplies and it is a spot for my IN BOX.
Manuscript label up close:
With an In Box, your incoming ToDo tasks are together, awaiting your attention and they are right were you can see them. I keep this separate from my incoming mail because not all the mail will have a task associated with it. Much of ours will go straight into the rubish bin. ;-)
I simply put a black basket in a table.

The table was made out of an antique sewing basket. It is so easy to just throw the mail in the black basket and shut the lid until it is time to read our mail.
IN BOX label close up:

An In Box, Out Box (my outbox is the triple stacker on my desk), and To File box will keep your office clean. If I cannot file a form that comes in the mail right then, I just drop it in the To File box until I have time.

My OutBox can be seen here; it is a triple metal holder than holds my Giclee proofs, and any outgoing mail or projects:

Okay, now that my space is clean, organized and all the cloudy-clutter is bye-bye, the way I feel about this process is: as if I just did yoga. Inhale, Exhale... ;-D

Give a little clean up a shot, you will be glad you did. ;-D
I sure am feeling better. ;-)